Table of Contents
Updating
CoreELEC can be updated either automatic or manual from both .tar and .img.gz files, but .tar files are faster to process.
Using CoreELEC Configuration Addon
Automatic
Auto-Update is enabled by default and tracks minor revisions, eq: CoreELEC 19.2.5 will update to 19.2.6, 19.2.7, 19.3 RC1 etc.
Major revisions (eq: 19.3 to 20.0) are excluded from Auto-Update as they frequently require (3rd party) Kodi add-ons to be updated also.
Broken add-ons are the main source of update issues.
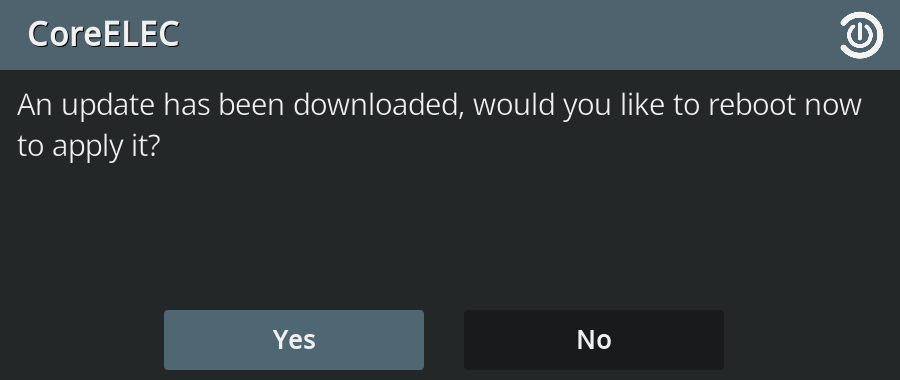
With Auto-Update enabled, the latest update file will download in the background, then Kodi will prompt to reboot and start the update process.
Disable Auto-Update
To manage system updates manually, Auto-Update can be disabled in the CoreELEC Configuration Addon.
Manual
Manual updates provide greater control over the update process. CoreELEC provides several manual update methods which are listed below.
- navigate to the Updates section of the CoreELEC Configuration Addon
- select
Update Channel(CoreELEC major version) - select
Available Versions
The update .tar file will start downloading in the background. Once completed, the system will prompt to reboot and perform the update.
CoreELEC versions before release 21.0-Omega can not use the channel update method because of bug in the update system.
If this is the case a update is only possible by manual place the update file in the update folder of the device.
Update by manual place a Update file
Kodi File Manager
Another way is by using a USB Flash Drive and the Kodi File Manager
View hidden files and folders has to be enabled in Kodi settings.
- enable viewing hidden files and folders
- download the CoreELEC image or update file
- copy file to a USB drive
- insert the USB Flash Drive
- navigate to
/storage/.update/using the Kodi File Manager - copy the update file from the USB drive to /storage/.update
- reboot
Samba Share
- copy/paste the update file to the UPDATE folder of the CoreELEC Samba share
- reboot upon successful completion of the file transfer
By Update Script (recommended on update by SSH)
- SSH into CoreELEC
update-ce <url or local file path to update file>
All manual update methods like mega/http/ftp url or local file .tar or .img.gz are supported. After download the update will by automatic applied.
Example:
update-ce https://mega.nz/file/790WxQDI#Z0OJs2d8StgFNe2mRygarP
Secure Socket Shell
- SSH into CoreELEC and navigate to the (hidden) update folder
cd /storage/.update- ensure there are no files in the folder
ls -la- download the update file
wget <path to update file>- force writing all cached data to disk
sync- reboot
Example:
wget https://relkai.coreelec.org/CoreELEC-Amlogic-ng.arm-19.4-Matrix_nightly_20211215.tar
Download locations:
Megatools
- SSH into CoreELEC and navigate to the (hidden) update folder
cd /storage/.update- ensure there are no files in the folder
ls -la- download the update file
megadl <path to update file>- force writing all cached data to disk
sync- reboot
Example:
megadl https://mega.nz/file/790WxQDI#Z0OJs2d8StgFNe2mRygarP
Downgrading
Downgrading is unsupported by Team CoreELEC (and Team Kodi).
Any support requests will be ignored.
When downgrading, all kinds of issues arise in the areas of:
- Addon compatibility
- Hardware compatibility
- System stability
- System useability
These issues can be circumvented by creating a new installation on external media with the desired older version of CoreELEC.
Load Kernel Module on Boot
Kernel modules can automatically be loaded on boot using /storage/.cache/kernel-overlays/. The example below will load the module named bt100.ko
Example:
1) Obtain the CoreELEC kernel version
uname -r
5.4.210
2) Create a file with name of the module, and extension .conf (eg. bt100.conf). That file will contain the overlay path for the module, /lib/modules/5.4.210/bt100/bt100.ko
Note: change the kernel version in the overlay path to match your kernel version obtained in step 1.
echo /storage/.cache/kernel-overlays/bt100 > /storage/.cache/kernel-overlays/bt100.conf
3) Create the overlay path for the module under /storage/.cache/kernel-overlays
mkdir -p /storage/.cache/kernel-overlays/bt100/lib/modules/5.4.210/bt100/
4) Copy the module to the directory created in step 3
cp /storage/downloads/bt100.ko /storage/.cache/kernel-overlays/bt100/lib/modules/5.4.210/bt100/bt100.ko
Disable Kernel Module
A module can be blacklisted to disable it from loading on boot, by adding the module name to blacklist.conf under modprobe.d. It is placed at /storage/.config/modprobe.d/blacklist.conf, which is overlaid to /etc/modprobe.d/blacklist.conf. The following example disables the module wlan100.
Example:
1) Find the module name in the list of installed modules.
lsmod
2) Create blacklist.conf in the directory /storage/.config/modprobe.d/, and edit the file to include the module name:
echo 'blacklist wlan100' >> /storage/.config/modprobe.d/blacklist.conf
Changes take effect after a reboot.

