Setting up a USB TV Tuner with NextPVR
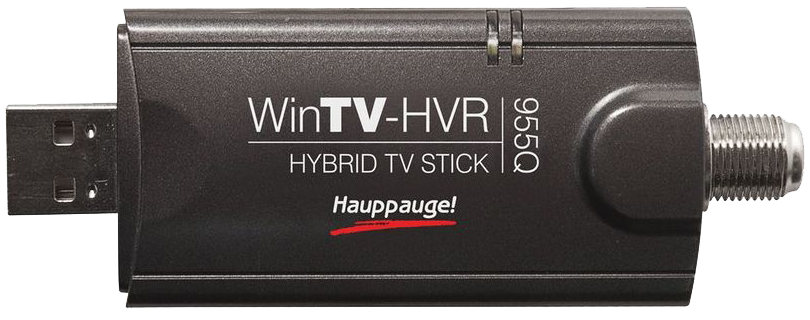
This tutorial covers basic instructions on how to install and setup a compatible USB TV Tuner under CoreELEC, and enable Terrestrial TV Service by the use of an indoor Antenna.
These instructions can easily be modified for use with a Cable TV or Satellite Dish subscription.
Devices used in this tutorial
- Personal Computer
Software used in this tutorial
- CoreELEC 19.5 Matrix RC2
- NextPVR Client (CoreELEC Repository)
- NextPVR Server (CoreELEC Repository)
Compatiblity
NextPVR Server supports following device types:
- Digital DVB and ATSC Tuners
- HDHomeRun Tuners
- IPTV
- Set Top TV Boxes
- SAT>IP
Installing the Tuner and Software
- insert the USB TV Tuner into an available USB slot of the CoreELEC device
- connect the antenna to the TV Tuner
- boot into CoreELEC
- install from the CoreELEC Addon Repository:
- NextPVR Client (PVR Clients)
- NextPVR Server (Services)
The installation of NextPVR Server may take up to 10 minutes on slower devices.
Refrain from turning off or rebooting the device till the installation has completed.
Proceed to Addons/My addons/services/
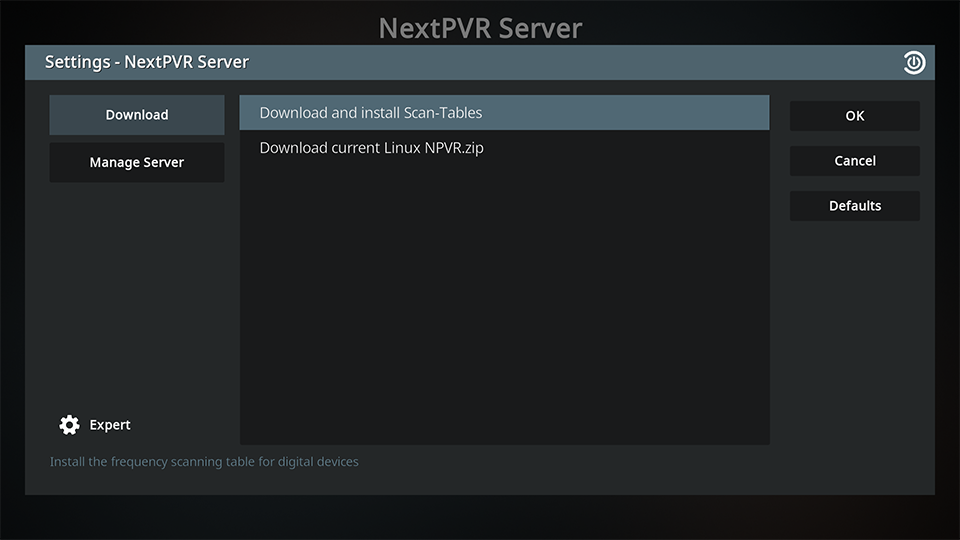
- open the NextPVR Server Addon
- download and install Scan-Tables
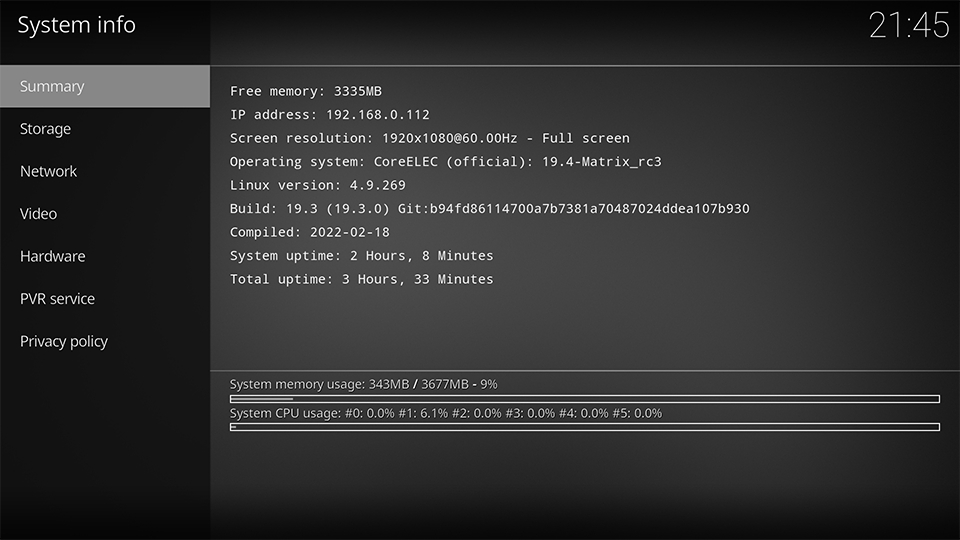
- find the Server IP address in
System Information
Connect to NextPVR Server
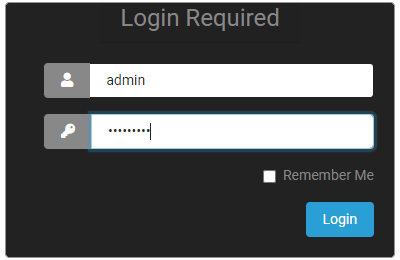
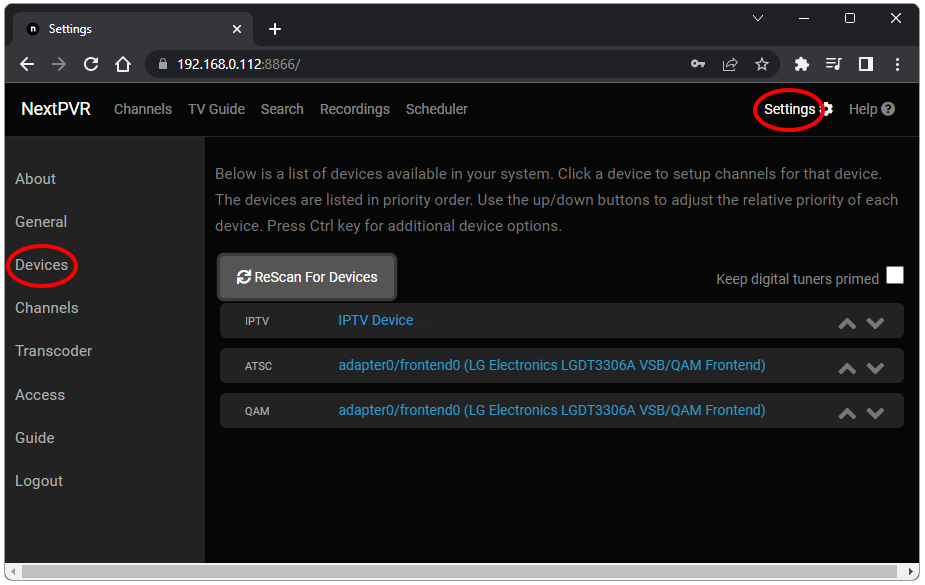
- from a Personal Computer, use a Web browser to navigate to the NextPVR Server using port 8866
eq: 192.168.0.112:8866
| default username | admin |
|---|---|
| default password | password |
- open the
Settingspage - select
Devices
- if the Tuner is missing, select
ReScan For Devices
If the Tuner is still missing from the list:
- install the Crazycat and Linux DVB drivers from the CoreELEC Repository (Services)
- select different DVB drivers
- reboot the OTTV Box and
ReScan For Devices

- select the adapter (in this example ATSC)
- select
Scan Channels
- select
Save - select
Not nowat theUpdate EPGprompt
Setting up the EPG is region and provider dependent. Please proceed with securing the NextPVR Server and setup the guide later.
Once Server and Client Setup are completed, refer to the NextPVR Server Wiki for more detail and instructions.
Secure NextPVR Server
- select
Accessfrom NextPVR Server sidemenu
| Web Login | change admin password (default: password)  |
|---|---|
| Application Access | add a pin code (default: 0000)  |

NextPVR Client Configuration
Proceed to Addons/My Addons/PVR Clients
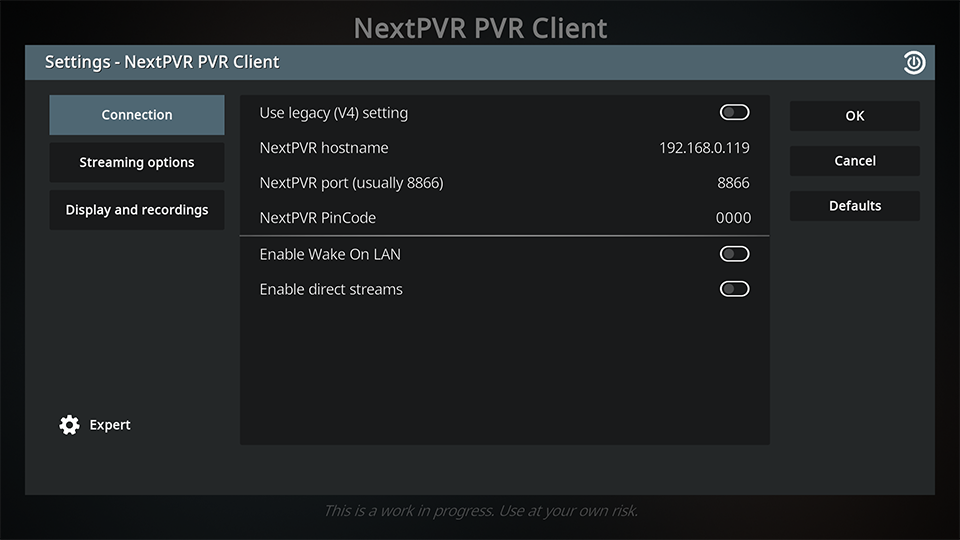
- select NextPVR PVR Client
- enter:
| NextPVR Hostname | the ip address of the NextPVR Server |
|---|---|
| NextPVR Port | 8866 (default) |
| NextPVR PinCode | the pin code entered under Application Access |
Accessing TV Channels
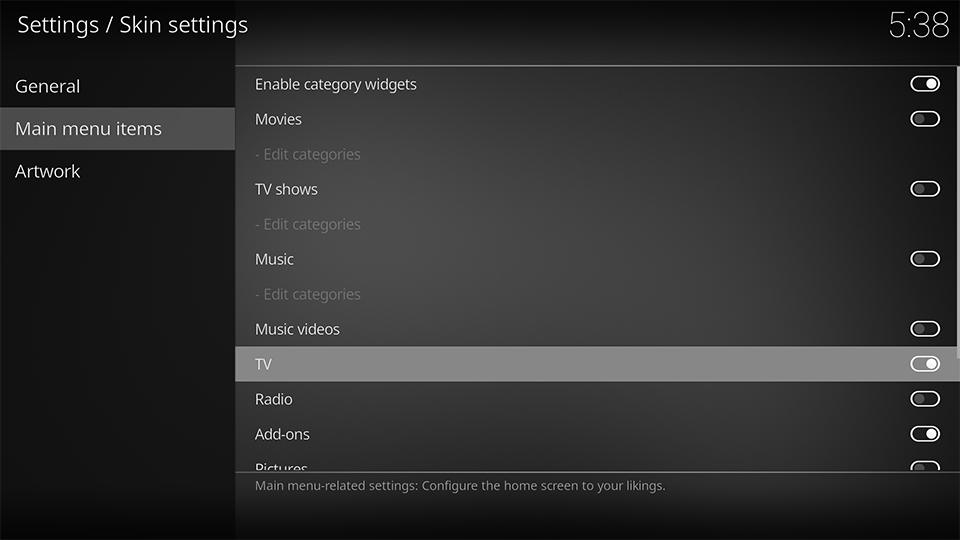
- select
Settings
- select
Interface
- select
Skin - select
Configure skin - select
Main menu items - enable
TV
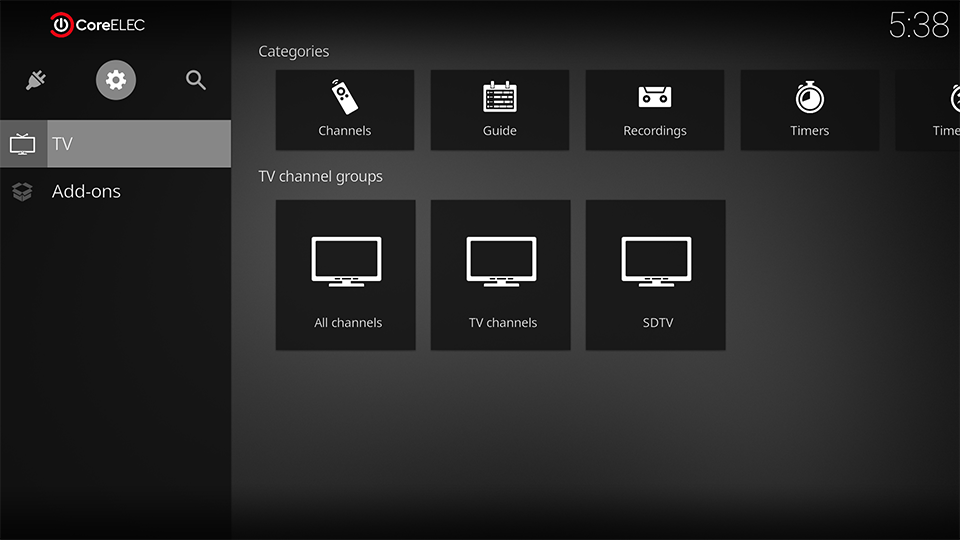
The home screen now shows a TV tab.
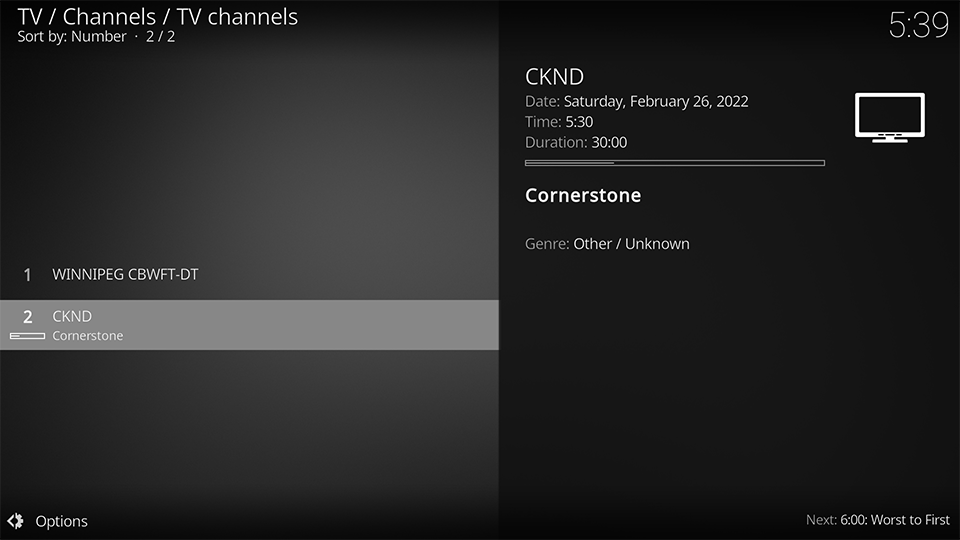
- Select
Channelsfrom the Categories Tab
- Select
TV Channel
NextPVR Client and Server Support
For support with NextPVR Server, please consult the NextPVR Wiki
For support with NextPVR Client, please consult the Kodi Wiki
Team CoreELEC provides no support for 3rd party applications.

